Poured rubber installation: DIY
TrylawnTurf | Rubberflex poured rubber | Poured in place rubber installation: a DIY tutorial for EPDM granules
Learn with images how to cast in place poured rubber with EPDM granules and binder. Install poured rubber like a pro.
If you want to install your rubber flooring yourself, please follow the guidelines below to ensure a smooth installation, and to extend the life of your product.
Professional installation
poured rubber installation steps
Surface preparation
The rubber can be poured on several types of surfaces such as plain paving, cement, asphalt, wood, compacted stone…
For best results, clean the surface one day before installation. Use a high pressure washer to remove debris, oil traces, dust and dirt. Allow the surface to dry completely before starting the installation.
Optional – edges: install a 1/4″ plastic edge (sold in hardware stores) on the inside or outside of the perimeter to create a perfect finish. The PL400 adhesive can be used to secure the edges to the ground. Allow the adhesive to dry for 24 hours before pouring the EPDM granules.
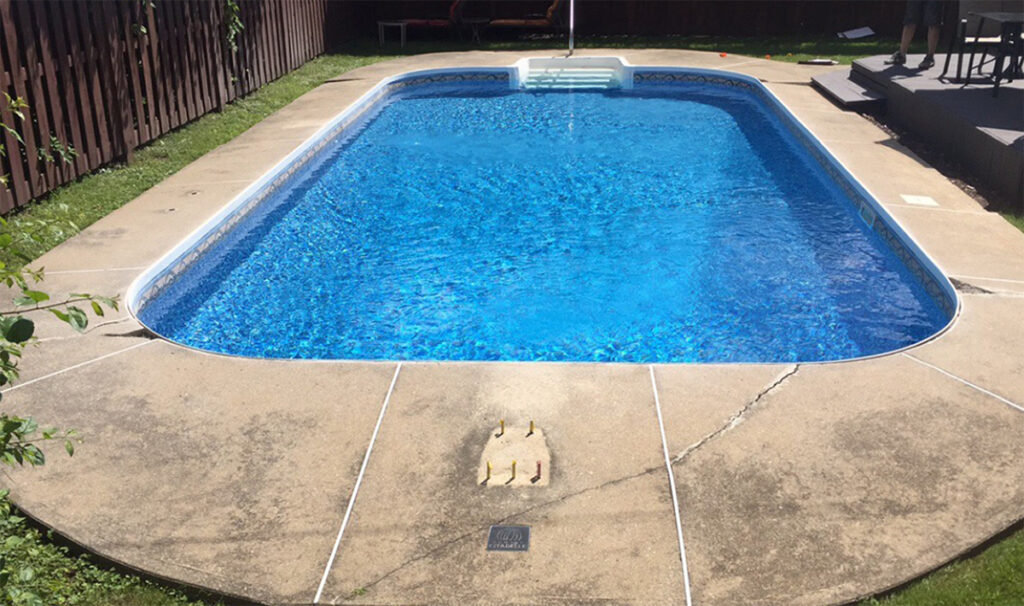
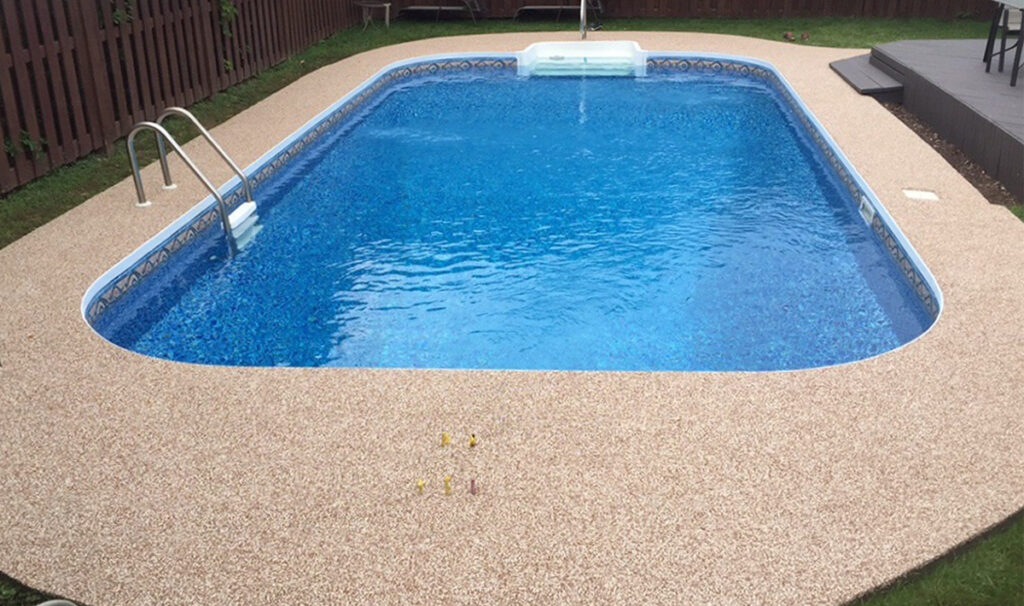
Around the pool: To ensure that poured rubber adheres to the concrete around the pool, primer must be applied first. In this case, our aliphatic binder will do the job, but you will need to order an extra container, since the quantity shipped with the granules is exactly the amount needed for a perfect pour.
Safety layer*
*Optional. A safety layer is needed for the safety of play areas, parks, kindergardens…
An underlayer of black SBR rubber granules is recommended to minimize fall injuries. Thickness to be defined according to the fall height.*
*Note that Syn-X can install this system in accordance with applicable municipal and provincial safety standards.
The black SBR granules are sold in a bag of 44 pounds (20 kg). Covers 13 s.f. (for a 1″ thick layer).
The mix
The outside temperature is very important for a successful installation. The temperature must be between 10 and 28 degrees Celsius during installation and for the next 24 hours.
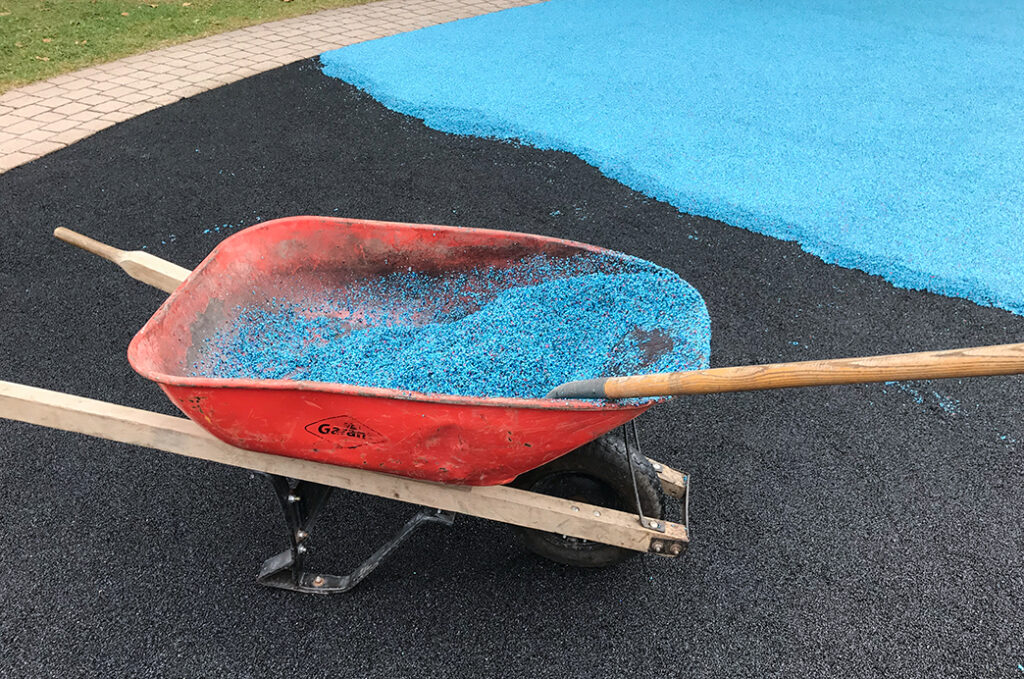
1- Place 1 bag of EPDM granules in the wheelbarrow, plan to put a canvas under the wheelbarrow to protect the ground.
2- Mix the aliphatic binder and the EPDM granules accurately: 1 gallon of binder per one bag (44.4 pounds) of EPDM granules (the Synthetic Experts EPDM kit is sold in the correct proportions).
Mix for 3 to 5 minutes with a shovel until all granules are coated with binder. Mixing at this stage should be consistent and uniform.
You have 30 to 40 minutes to install your mix.
Installation
1. Place the granule mixture at the starting point in small stacks with the trowel. Start spreading and level the granules to a thickness of 1/4″ with medium pressure to squeeze the granules together.
2- Once the granules are well distributed, moisten your trowel with our Magic Whip product using a brush. Smooth the surface, taking care not to leave any loose granules.
3- Moisten your trowel constantly during the smoothing period, never place the granules further than the distance of one arm at a time. Repeat the process to complete the surface.
Finishing touch
Use a mixture of urethane grade solvents (whippe) to clean dirty tools, or clean with a lubricant (Magic Whip).
A drying period of 48 to 72 hours is recommended, and you must wait until the surface is no longer sticky before steping on it.
Did you know that you can also install EPDM granules on a vertical surface (using Cabosil powder)?
Recommended products
Printable instructions
Download this installation instruction PDF for printing or keeping
Professional poured rubber flooring installation
Get a quotation for the installation of artificial turf and/or cast rubber flooring. Click to get your price!